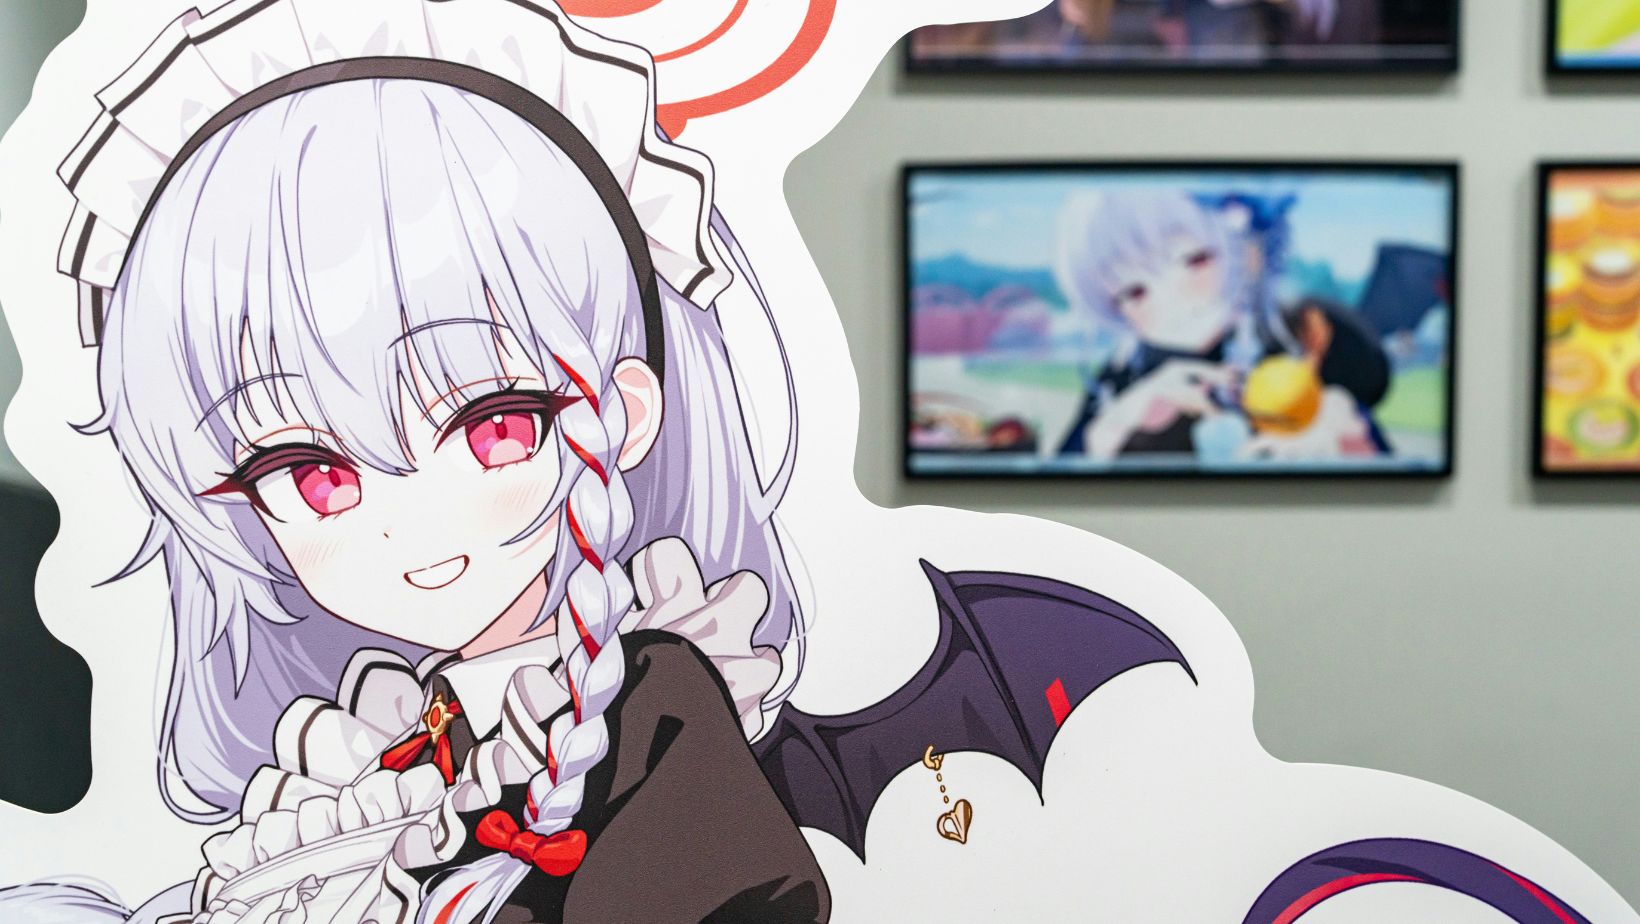
We all get a thrill out of seeing an anime character jump from a flat drawing into a full 3D design. It feels like the character finally comes to life, and with today’s tools, the process is easier than most people think.
In this article, we’ll share seven straightforward tips that cover everything from using AI to create anime 3D models to sculpting, rendering, and refining the final details. We’ll also look at beginner-friendly software, why reference art makes such a difference, and how learning from other creators can speed up your progress.
The goal is to keep things fun, simple, and practical so you can enjoy every step of bringing your characters into 3D.
1. Start With AI Tools for Easy 3D Models
AI is a powerful way to kick off your project. Instead of spending hours building from scratch, you can explore anime 3D models with platforms that use AI to generate a base mesh. Most tools let you describe details like hairstyle, eye shape, or clothing style.
In seconds, you’ll have a workable starting point ready for refinement. This saves time, removes early frustration, and gives you more freedom to focus on the fun parts like sculpting expressions and adding personality.
2. Choose Beginner-Friendly Modeling Software
The right software makes all the difference, especially when you’re new. Blender is free, open-source, and packed with features that professional 3D artists use every day. It handles sculpting, texturing, and rendering all in one place.
For those who want a simpler start, MakeHuman is another free option that generates a human base mesh with customizable proportions. By adjusting body size, face shape, and style, you can quickly adapt it into an anime character. Both tools keep the learning curve manageable without limiting creativity.
3. Use Reference Art and Import It Directly
Good reference art keeps your project consistent. Instead of guessing proportions or details, import your 2D drawings directly into Blender, Sculptris, or an AI tool. You can line up your model with the drawing and check that everything matches as you go.

Many artists set up multiple views, like front and side images, to guide their sculpting process. This makes it easier to capture anime-style features such as oversized eyes or sharp jawlines. Using references ensures accuracy while saving you from endless trial and error.
4. Sculpt the Base Shape, Then Refine Details
Starting simple always pays off. Use your base model, whether AI-generated or made in MakeHuman, and block out the big shapes first. Focus on proportions: head size, body length, eye placement. Once those feel right, start refining. Sculpt hair strands, clothing folds, and small details that make the character unique.
Adding too many details early can slow you down, so keep it broad before fine-tuning. This step-by-step approach makes the process smoother, and you’ll see progress faster without feeling stuck in endless adjustments.
5. Use Anime-Style Rendering
Getting the anime look is about more than shape. Rendering techniques create the final style. Blender’s toon shaders give you bold outlines and flat color areas that match anime aesthetics. The Eevee engine lets you preview these effects, making adjustments quick and easy. Outline tools like Freestyle or Line Art add crisp borders around your model.
Don’t forget color choices: bright tones and simple shading work best for anime-style models. Together, these features bring the character closer to the screen-ready look you’re aiming for.
6. Practice in Stages and Keep It Simple
Big projects can overwhelm, so break them into smaller steps. Start with a chibi-style character that takes inspiration from one of the coolest anime protagonists or a basic design with one hairstyle and outfit. Skip rigging and animation until you’re confident in modeling and texturing. Once you’ve nailed the basics, add clothing layers, test facial expressions, or practice simple poses.
Downloading free models to study is also a great way to learn without starting from scratch. Working in stages keeps the process fun, builds confidence, and gives you tangible progress to celebrate along the way.
7. Learn From Others and Stay Curious
The 3D modeling community is full of knowledge waiting to be tapped. Tutorials on YouTube, courses, and forums cover everything from VRoid Studio workflows to Blender shading tricks. Watching how other artists translate anime characters into 3D helps you understand techniques in action.
Some creators even share their project files, giving you a chance to explore their methods firsthand. Engaging with communities also keeps you inspired and motivated. Staying curious, asking questions, and experimenting with what you learn are the best ways to grow quickly.
Conclusion
Turning a 2D anime character into 3D is a process that becomes much easier when broken into clear steps. AI tools can give you a strong starting point, while programs like Blender and MakeHuman provide the flexibility to shape and refine your models. Reference art keeps proportions accurate, and anime-style rendering adds the bold look fans recognize instantly.
By combining these approaches, you’ll have everything you need to create characters that look great and feel authentic to the anime style you love.
