
Hello, fellow game enthusiasts! I’m a game developer, and today, I want to share with you the magic behind creating the very essence of any game – its assets. Whether it’s the towering trees, menacing monsters, or shiny coins you collect, game assets breathe life into the digital worlds we love to explore. As we dive into this beginner-friendly guide, I’ll share insights and tips from my journey in game asset design.
So, let’s embark on this adventure together and uncover the process that turns simple ideas into captivating game elements.
An Overview of Game Asset Workflow
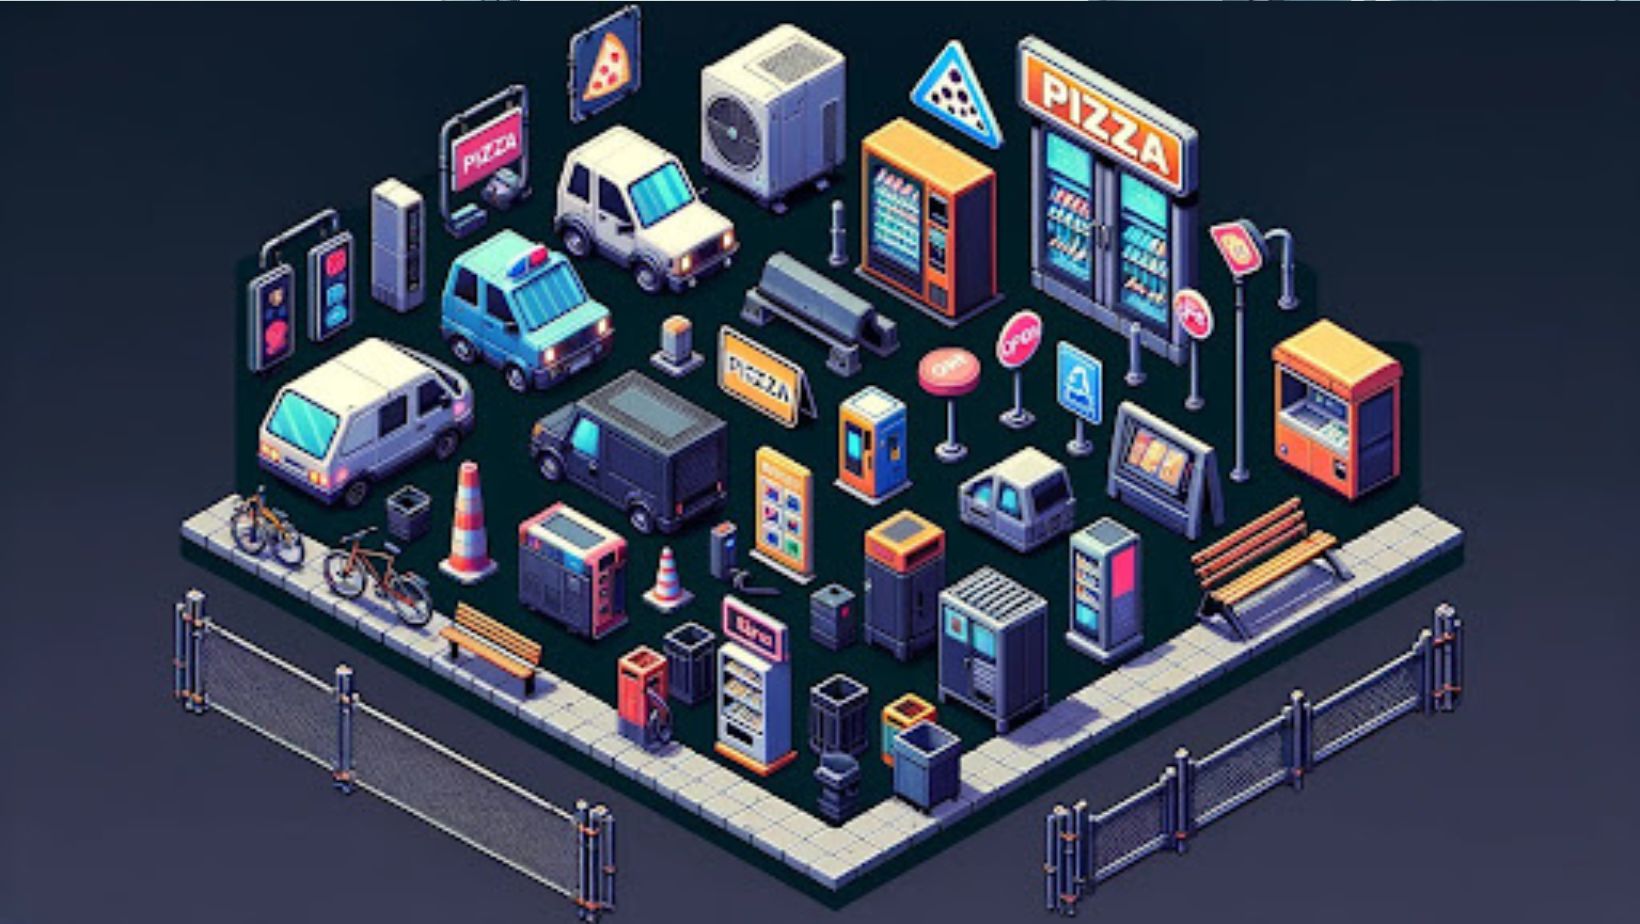
Game asset creation is the cornerstone of game development, encompassing everything from the characters and items to the textures and environments. This process transforms initial concepts into tangible elements players interact with. The workflow typically follows several key stages:
- Concept and Planning: Where ideas take shape.
- Creation: Bringing concepts to life through art and design.
- Integration: Implementing assets into the game engine.
- Testing and Refinement: Ensuring quality and coherence.
Maintaining flexibility throughout these stages is crucial, as feedback and testing often lead to revisiting earlier steps for improvements.
Major Challenges in Game Asset Creation Workflow
Beginning the journey of game asset creation can be daunting, as one faces technical skills to master and creative decisions to make. Two common challenges are:
- Finding the Right Balance: Between artistic vision and technical constraints.
- Time Management: Assets can be developed from detailed character models to expansive game worlds.
Overcoming these challenges starts with setting realistic goals and embracing the learning curve. Be bold in using placeholder assets to keep development moving forward.
Essential Tools for Game Asset Creation
The right tools can make a world of difference in game asset creation. Whether you’re sculpting a 3D model or painting a 2D backdrop, here’s a brief overview:
- For 3D Assets: Blender is a modeling, animation, and game engine integration powerhouse. It’s free and offers many features for beginners and pros alike.
- For 2D Assets: Adobe Photoshop remains a favorite for its versatility in creating and editing images.
Blender’s user-friendly interface for beginners, particularly its sculpting toolset, makes 3D creation more accessible.
Steps Involved in Game Asset Creation
Creating a game asset might seem like wizardry at first, but it’s a step-by-step process that becomes intuitive with practice:
- Conceptualization: Start with sketches or descriptions of your asset.
- Modeling/Designing: Build your asset in 3D or design it in 2D.
- Texturing: Apply colors and details to give life to your asset.
- Rigging (for 3D): If your asset moves, rigging is where you define its joints and movement capabilities.
- Exporting: Prepare and format your asset for game integration.
Never underestimate the power of texturing. A well-textured model can bring even the simplest shapes to life.
Creating Your Game Assets as a Non-Artist
If you’re not an artist by training, fear not! Game asset creation is more about creativity and less about formal art skills. Here are some tips to get you started:
- Use simple shapes and colors: Focus on basic forms and build complexity as you gain confidence.
- Leverage asset libraries: Modify existing assets to fit your game, learning as you go.
Remember, every expert was once a beginner. Start with basic tutorials and practice regularly to develop your skills.
Conclusion
Game asset creation is a journey of turning imaginative concepts into the building blocks of game worlds. Whether you’re an artist or not, the key is to start simple, embrace the learning process, and not be afraid to experiment. You should take the first step, create your asset, and see where the path leads. If you have experiences or questions you’d like to share, please drop them in the comments below. Let’s create, learn, and grow together in game development!